(Updated December 3, 2024)
Moving a piano isn’t like packing up dishes (which, of course, requires its own level of care). These beautiful instruments are heavy, delicate, and expensive — often weighing hundreds to over a thousand pounds. Their size and fragility make them challenging to maneuver, especially through tight spaces.
That’s why most people hire professional piano movers, no matter if they’re moving locally or long-distance. But if you’re set on tackling it yourself, give yourself plenty of time to prepare. With the right tools, a solid plan, and extra hands, it’s possible — but it’s no small task.
How to Move a Piano Like a Pro Step by Step
Is it possible to move a piano yourself? Sure. But doing it right requires careful preparation and teamwork. The risks of damaging the piano — or injuring yourself — are high.
If you still want to give it a shot, follow this step-by-step guide to move your piano, whether it’s an upright or a baby grand piano, like a pro.

1. Choose your piano moving supplies
You'll need the right tools before you even think about lifting a piano. Proper supplies will protect your piano — and your friends or family — from getting hurt. Here’s a list of essentials:
Tape measure to measure doorways, stairwells, and the piano itself to avoid last-minute surprises
Moving blankets/pads to protect the piano’s finish and prevent scratches or dents
Ratchet straps to secure the piano to the dolly or in the moving truck
Piano dolly, a must-have for safely rolling the piano, especially for heavy uprights or baby grand piano.
Cardboard boxes and tape to create a safe path through doorways or across slippery floors
Work gloves to protect your hands

2. Measure your piano and doorways
Before you start moving your piano, grab a tape measure. Measure the height, width, and depth, as well as the doorways, hallways, and stairwells it needs to pass through. This information will help you avoid getting stuck halfway out the door — or worse, halfway down the stairs.
Similar to labeling boxes while packing for a move, the work you do up front to write down all your measurements and double-check them will be well worth it.
3. Disassemble your piano
For certain types of pianos, like baby grands, disassembly is required. Upright pianos, on the other hand, are usually moved intact. If your piano requires disassembly, follow these steps carefully:
Remove the legs: For baby grand pianos, the legs must come off. Have someone steady the piano while another person unscrews each leg, one at a time.
Detach the pedals: Unscrew the pedals and place them in a padded bag or wrap them in moving blankets for protection.
Leave the lid and fallboard intact: Never remove these parts. They’re not designed to be disassembled.
Once you’ve removed the necessary parts:
Wrap each piece in padding or blankets: Protect the legs, pedals, and other parts from scratches or damage.
Label the parts: Use masking tape and a marker to label each piece so reassembly is easier later.
Pack carefully: Place smaller parts in a sturdy box, and secure larger parts with straps to keep them from shifting during transit.
Disassembling your piano might seem tedious, but it’s worth it to avoid risking damage.
4. Wrap the piano in padding or blankets
A well-wrapped piano is far less likely to suffer damage, no matter how tricky the journey. Follow these steps to keep your instrument safe and sound:
Choose thick moving blankets or padding: Use high-quality materials to cover the entire piano. Pay extra attention to corners and edges. For upright pianos, start at the top and drape the blanket over the sides. For baby grands, wrap each section individually.
Secure the blankets: Use ratchet straps or heavy-duty packing tape to hold the padding in place. Your straps should be snug, but not so tight that they leave marks on the piano’s surface.
Cover the keys: Place a smaller blanket or pad over the keyboard to prevent the keys from being scratched or jostled. Keep the fallboard closed for extra protection.
Double-check coverage: Padding should completely cover the instrument to avoid damage from bumps or scrapes that can come with moving a piano.
5. Move the piano onto the piano dolly
Moving a piano onto a dolly is where things get tricky — and heavy. The big question: Can two people lift a piano?
For most uprights, it’s possible but not recommended. Pianos are awkward and top-heavy. Plan to have at least three people helping. For a baby grand, you’ll need at least four strong, steady pairs of hands.
Here’s how to get it done:
Position your helpers: One person steadies the piano from the front. The second person guides and supports from the back. Additional helpers assist from the sides for balance and help with lifting.
Lift carefully: Bend your knees, not your back. Use your legs to lift. Communicate clearly and lift in unison. The piano should stay as level as possible.
Place the dolly strategically: For an upright piano, position the dolly near the center of the instrument. For a baby grand, set the dolly near the body, leaving space to add the legs back later.

6. Move the piano onto the truck or van
Focus on proper placement and security in the moving vehicle. A piano should never move around during transit — both for its safety and yours.
Prepare the path: Lay down protective paths in your home with cardboard or old rugs to prevent scratches or scuffs. Use tape to secure the paths and avoid slipping. Clear all obstacles.
Navigate doorways and ramps: Use the piano dolly to carefully roll the piano through doorways. Tilt it slightly if needed, but avoid sharp angles. For stairs or ramps, position one person guiding from the top and two or more steadying from the bottom.
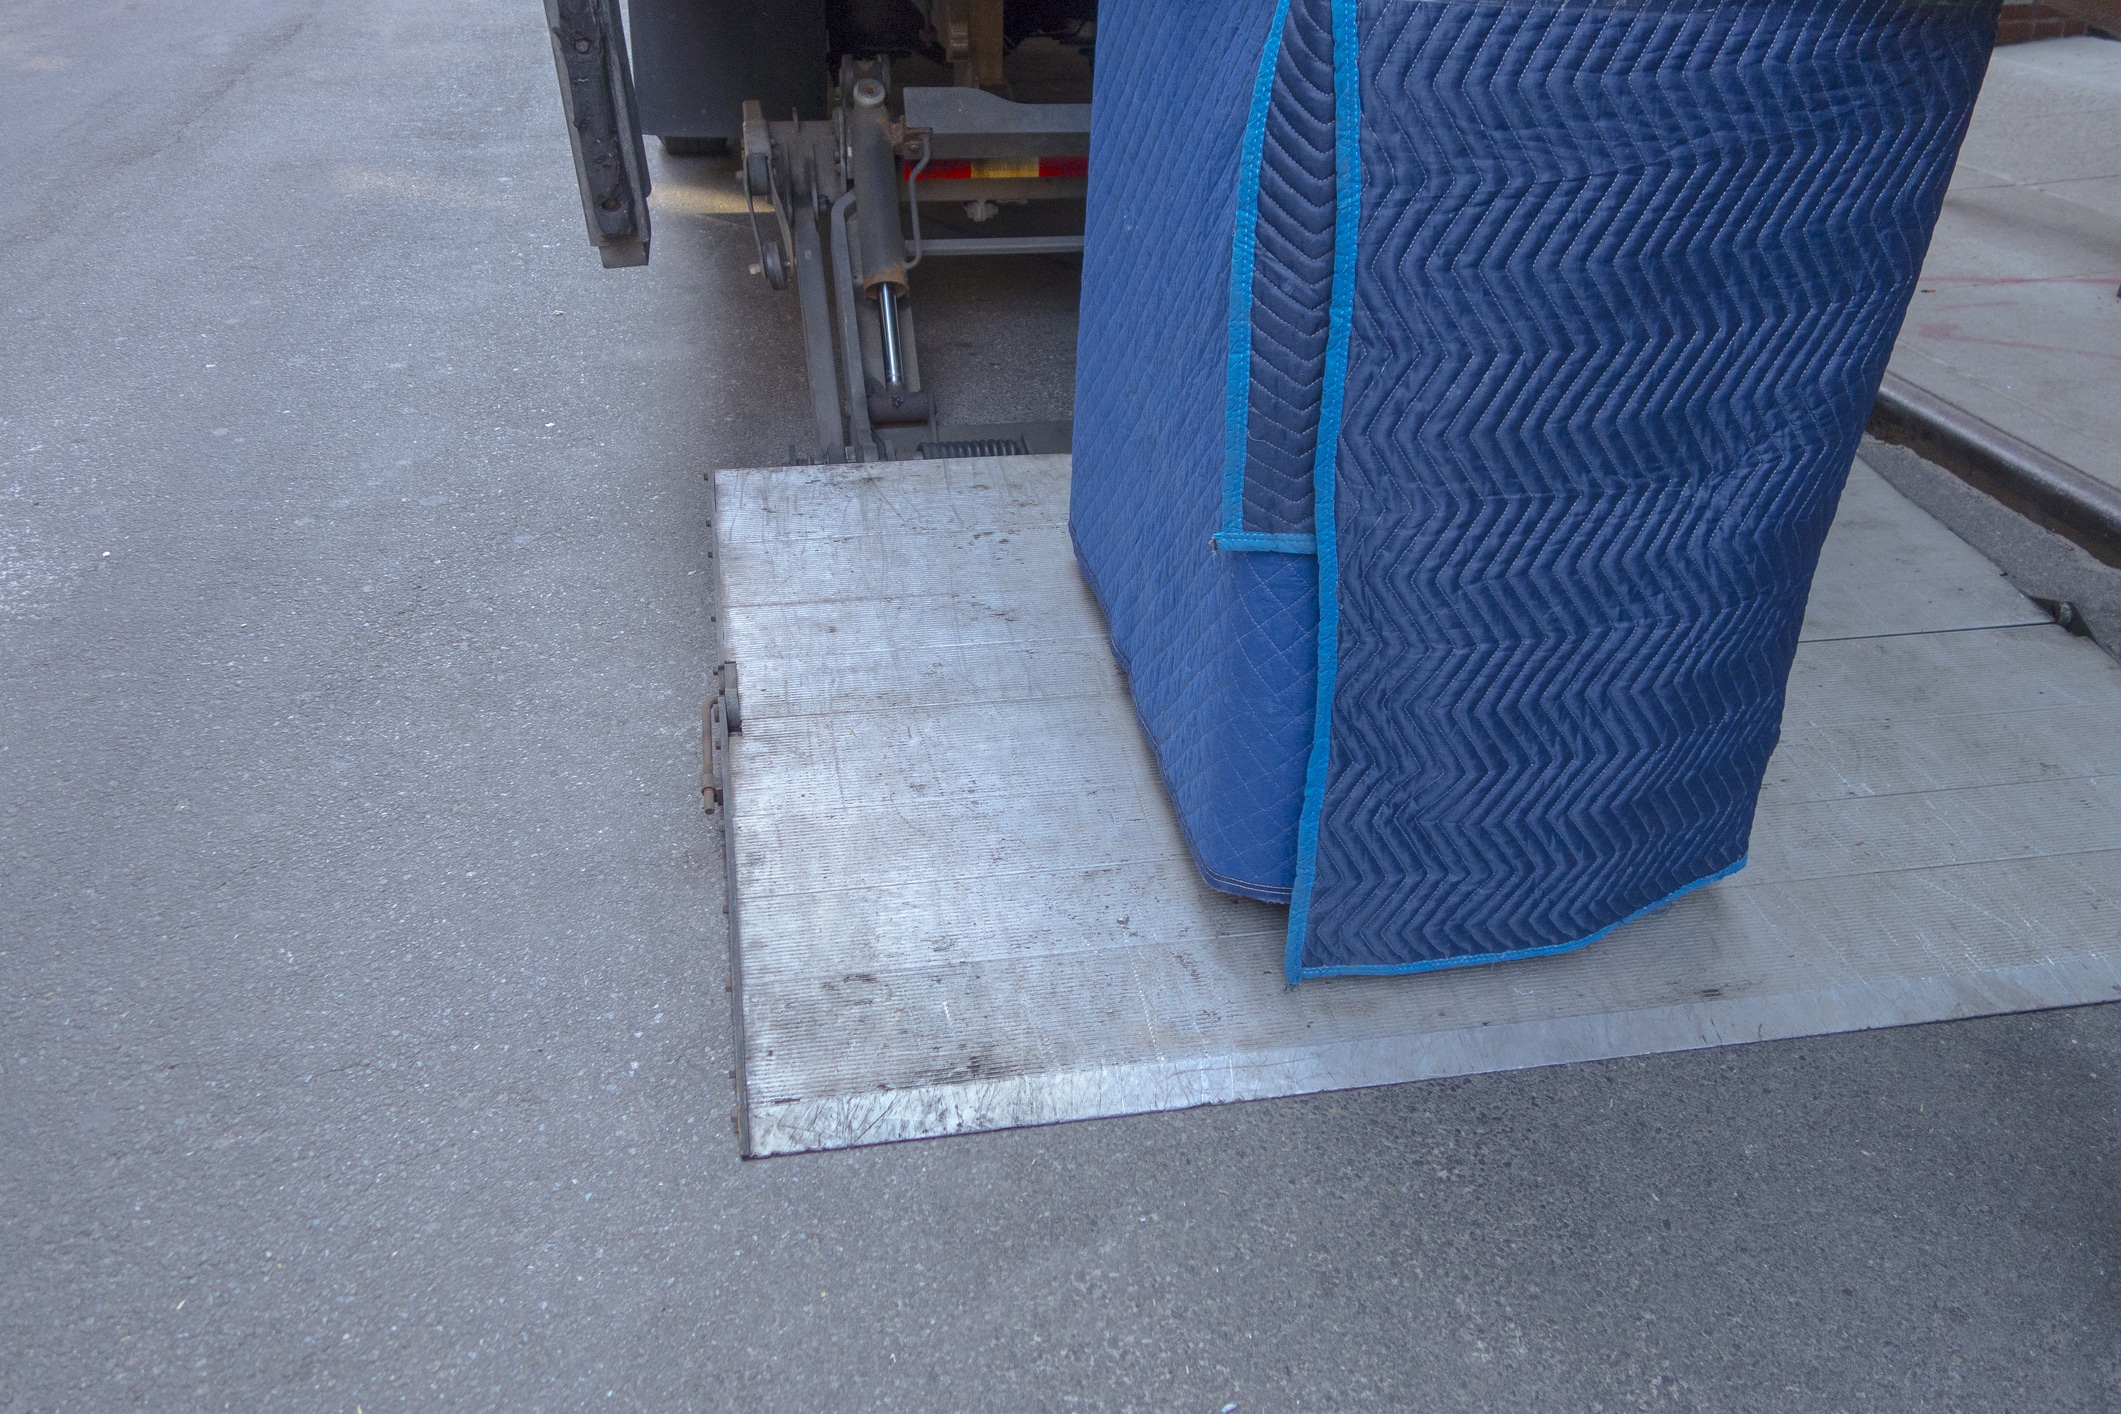
Load the piano into the moving truck or van: Use a ramp to roll the piano onto the truck. Once inside, place the piano against a wall of the truck. For a baby grand, remove the legs and pedals and pack them separately.
Secure the piano: Use ratchet straps to tie the piano to the side of the truck or van. Make sure the straps are tight enough to keep it from shifting during transit. Add extra padding or moving blankets around the piano.
7. Unload your piano and set it up
Don’t get lazy here or skip steps because you can see the end. This part requires just as much care and precision as the rest of the process.
Prepare the unloading area: Clear the path from the truck to the house. Create your cardboard path again.
Unload the piano carefully: Position one person guiding the dolly from the top and others steadying from the sides. Use a ramp to slowly roll the piano down from the truck.
Move the piano into the house: Use the dolly to roll the piano to its new spot. Carefully navigate doorways and tight spaces. Tilt slightly if necessary to avoid sharp angles.
Set up the piano: If you disassembled parts like legs and pedals (such as for a baby grand), reattach them now. Refer to the labels you made during packing. Remove all padding and blankets — and don’t scratch the piano while doing so!
Hire a professional tuner: Moving a piano throws off its tuning due to vibrations and changes in humidity. Hire a professional piano tuner to restore its sound.
What Not to Do When Moving a Piano
Now that you know how to move a piano, you must know what not to do. Mistakes can be costly — and dangerous. Remember, you’re moving something that’s almost the size of an elephant.
To avoid damage or disaster (or something more painful), here’s what not to do when moving a piano:
Don’t skip preparation: Sometimes in life, you gotta wing it. Moving a piano is not one of those times. Failing to plan, measure, or gather the right supplies can lead to accidents or damage.
Don’t move it alone: Pianos are heavy and awkward to handle. Even a strong person can’t move one safely solo. Always recruit enough help — or call professional piano movers.
Don’t ignore proper lifting techniques: Lift with your legs, not your back. Use proper form and communicate with your team before every move.
Don’t try to force it through tight spaces: If the piano doesn’t fit through a doorway, don’t push harder. Disassemble what you can or re-evaluate the route. Forcing it can damage both the piano and the house.
Don’t forget to secure it in the truck: A piano that isn’t strapped down can shift, tip, or fall during transit. Always use ratchet straps to keep it stable.
Don’t hesitate to hire professionals: If moving a piano seems overwhelming, leave it to the experts. Professional piano movers have the tools and experience to handle the job safely and efficiently.
How much does it cost to move a piano, really?
The cost of moving a piano depends on the type of piano, the distance, and any additional challenges like stairs or tight spaces. On average, moving a piano in the U.S. costs about $400. Professional piano movers can charge from $150 to $500 for local moves and up to $3,000 for long-distance moves.
While this might seem steep, consider the alternative — a damaged piano can cost thousands of dollars to repair or replace.
Entrust Your Piano (And Your Move) to the Moving Professionals
If you’re not sure how to move a piano, or you’re worried about the risks, it’s best to leave it to the experts — especially if you’re moving cross country.
At Colonial Van Lines, we have over 50 years of experience in safely moving pianos and other household items. Our professional piano movers know how to handle your prized instrument with care while reducing the stress of your move by taking care of the furniture disassembly and reassembly, packing and loading, and driving.
Ready to make your move? Get a free quote today!
Are you looking to making moving easier? Try our Moving Day Essentials download. Colonial Van Lines is here to make your moving experience a little easier.

