It’s no secret: Packing for a move can be stressful. In fact, 45 percent of surveyed Americans procrastinate on this task until the last minute.
But what is it about packing that causes so much stress? Blame your kitchen for that. It’s one of the hardest, most time-consuming rooms to pack due to those fragile, breakable dishes that require delicate packing precision.
And if you’re moving long distance, it’s even more critical to secure them properly — because they’ll be making quite the journey.
But have no fear — if you need to know how to pack dishes for moving, you’re in luck! This guide will help you tackle the process from start to finish to ensure every dish survives the journey.

How to Pack Dishes for Moving: First Steps
Before you reach for a box and start placing items inside, let’s set the groundwork. These steps will streamline the entire process, so you can pack dishes, glasses, utensils, and other kitchenware as efficiently as possible.
1) Declutter Your Whole Kitchen
Conduct a thorough inventory of all the items in your kitchen drawers, cabinets, and shelves. Ask yourself, “What do I actually use, and what can I part with to lighten the load?”
Whether it’s a coffee mug you haven’t used in years or a platter collecting dust in the back of a cabinet, ditch those items you no longer need. This prevents wasting valuable time, effort, and money on packing dishes that you don’t even want anymore.
2) Assemble the Packing Supplies
Once you narrow down which items will be making this trip, assemble the packing materials and supplies. Various types of kitchenware (plates, bowls, glasses, etc.) require different packing materials (which you’ll find in the item-by-item packing instructions section below). So look at your own dish collection to determine what supplies you’ll need.
With that said, here’s a basic checklist to help start you off:
Small moving boxes
Packing paper or bubble wrap
Shipping tape and scissors
Towels, linens, or newspaper
Foam sleeves for plates
Cardboard partitions for glassware
Permanent marker for labeling
How to Pack Dishes for Moving: General Tips
For the average homeowner, it can take up as much as a whole day to pack all the dishes in your kitchen — but these pointers will ensure a smooth and hassle-free experience. Not to mention, they’ll reduce the risk of damage, while also making it faster and easier to unpack in your new home.
1) Use Small Boxes (Dishes Weigh a Lot)
Heavy items like glass cups and ceramic plates and bowls require small boxes. Sticking to a small box size prevents you from overloading boxes, which could cause them to warp under the bulk of their contents.
In a pinch, you can use a larger box for plastic dishware, but make sure it doesn’t weigh too much. You still have to transport those boxes to the moving truck.

2) Secure the Bottoms of All Your Boxes
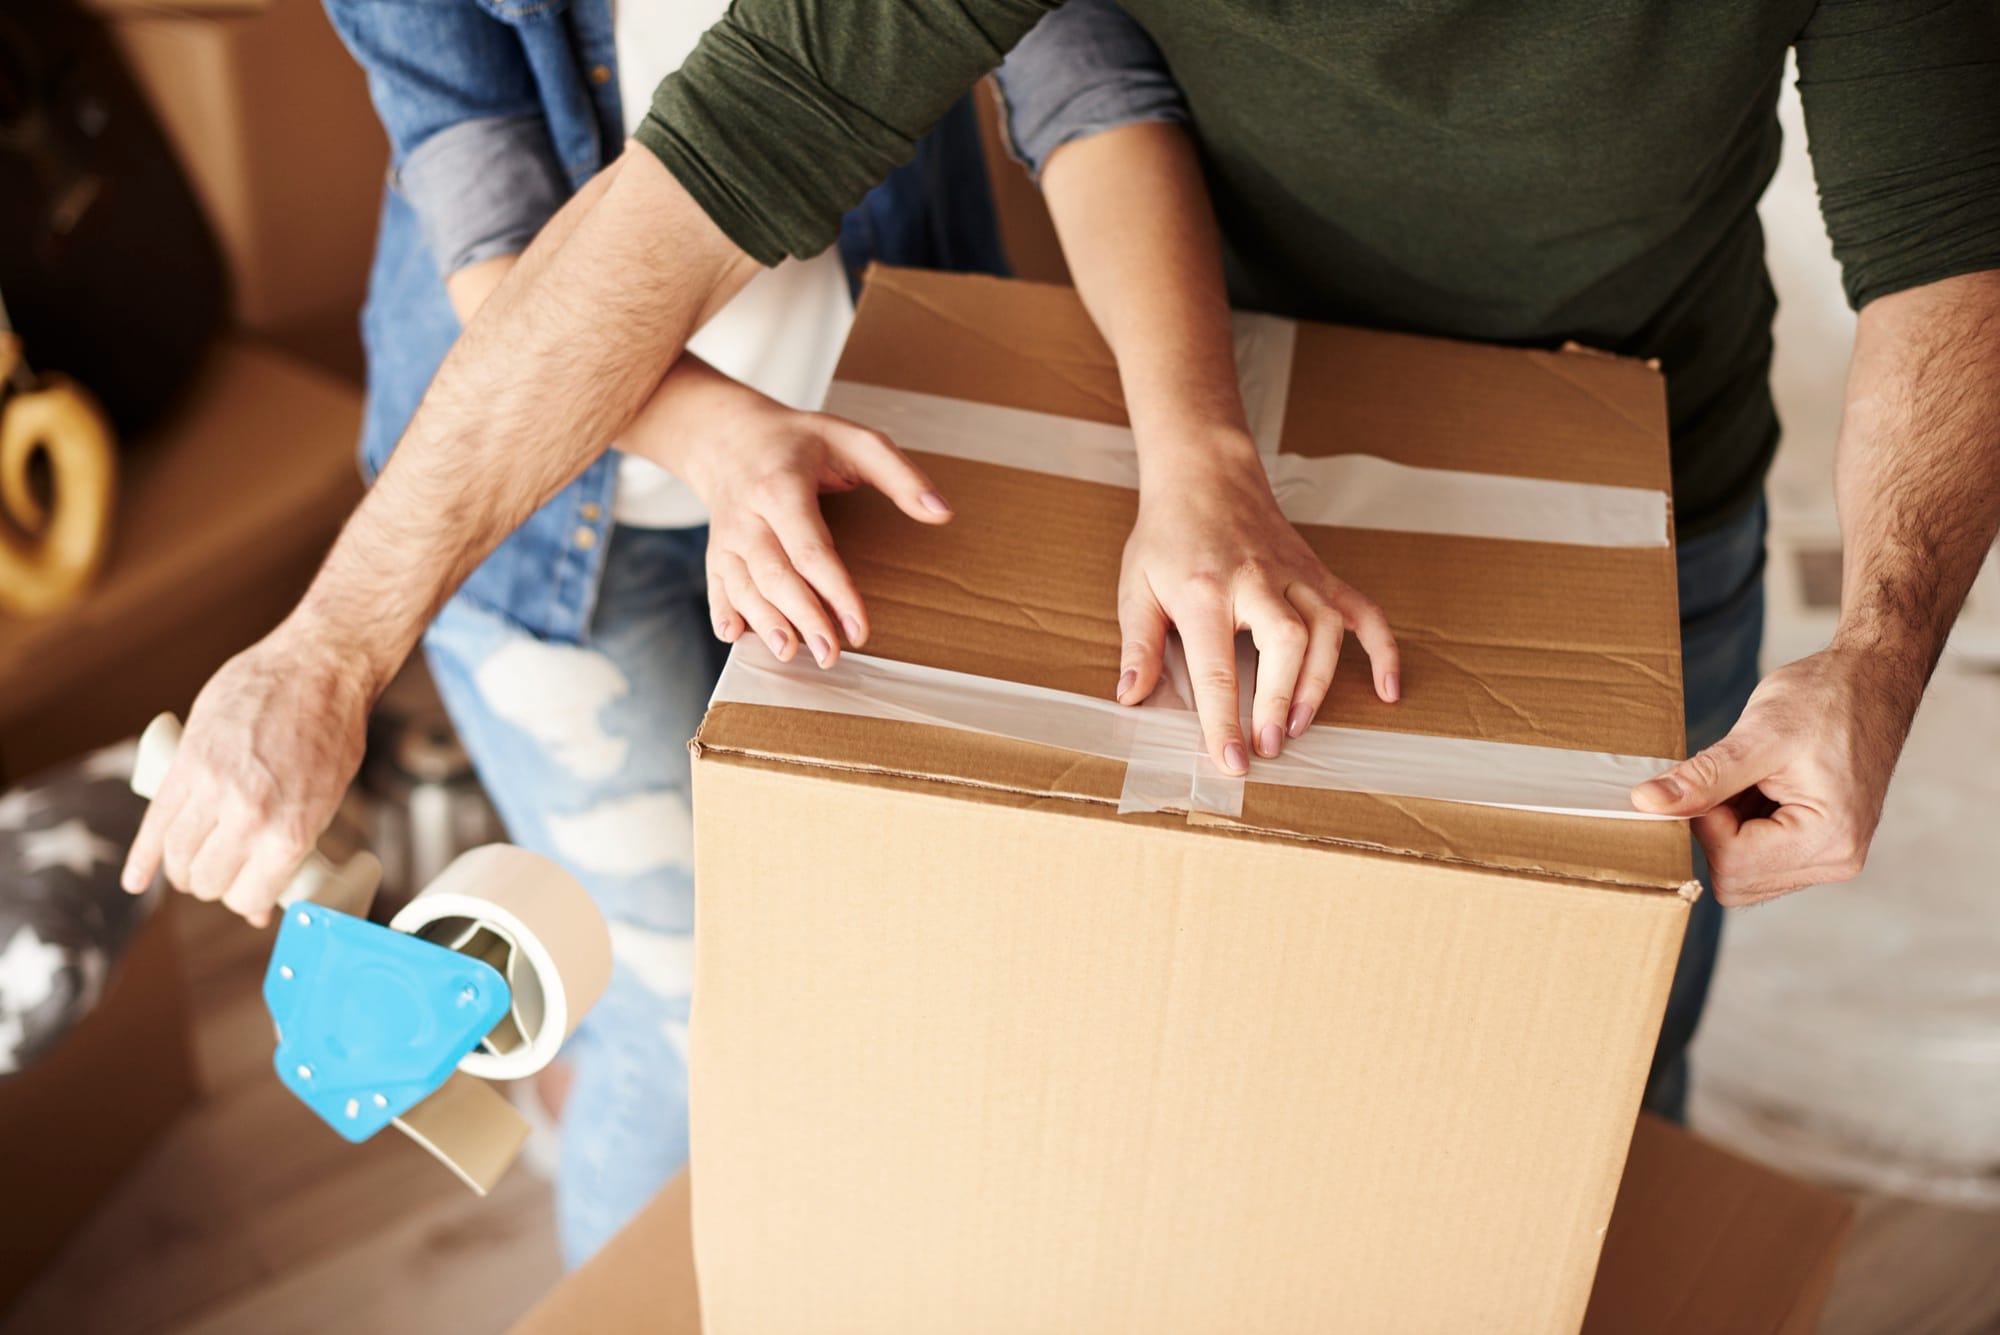
Before you start packing any boxes, reinforce the bottoms with shipping tape. This will ensure the cardboard won’t buckle or collapse, which can jostle your dishes while in transit.
Turn the box over, then fold the two bottom flaps toward each other and tape them vertically down the center.
Next, tape the edges on all four sides to secure the bottom seam. For even more stability, tape a diagonal “X” pattern from one bottom corner to the other.
3) Cushion the Items as Much as Possible
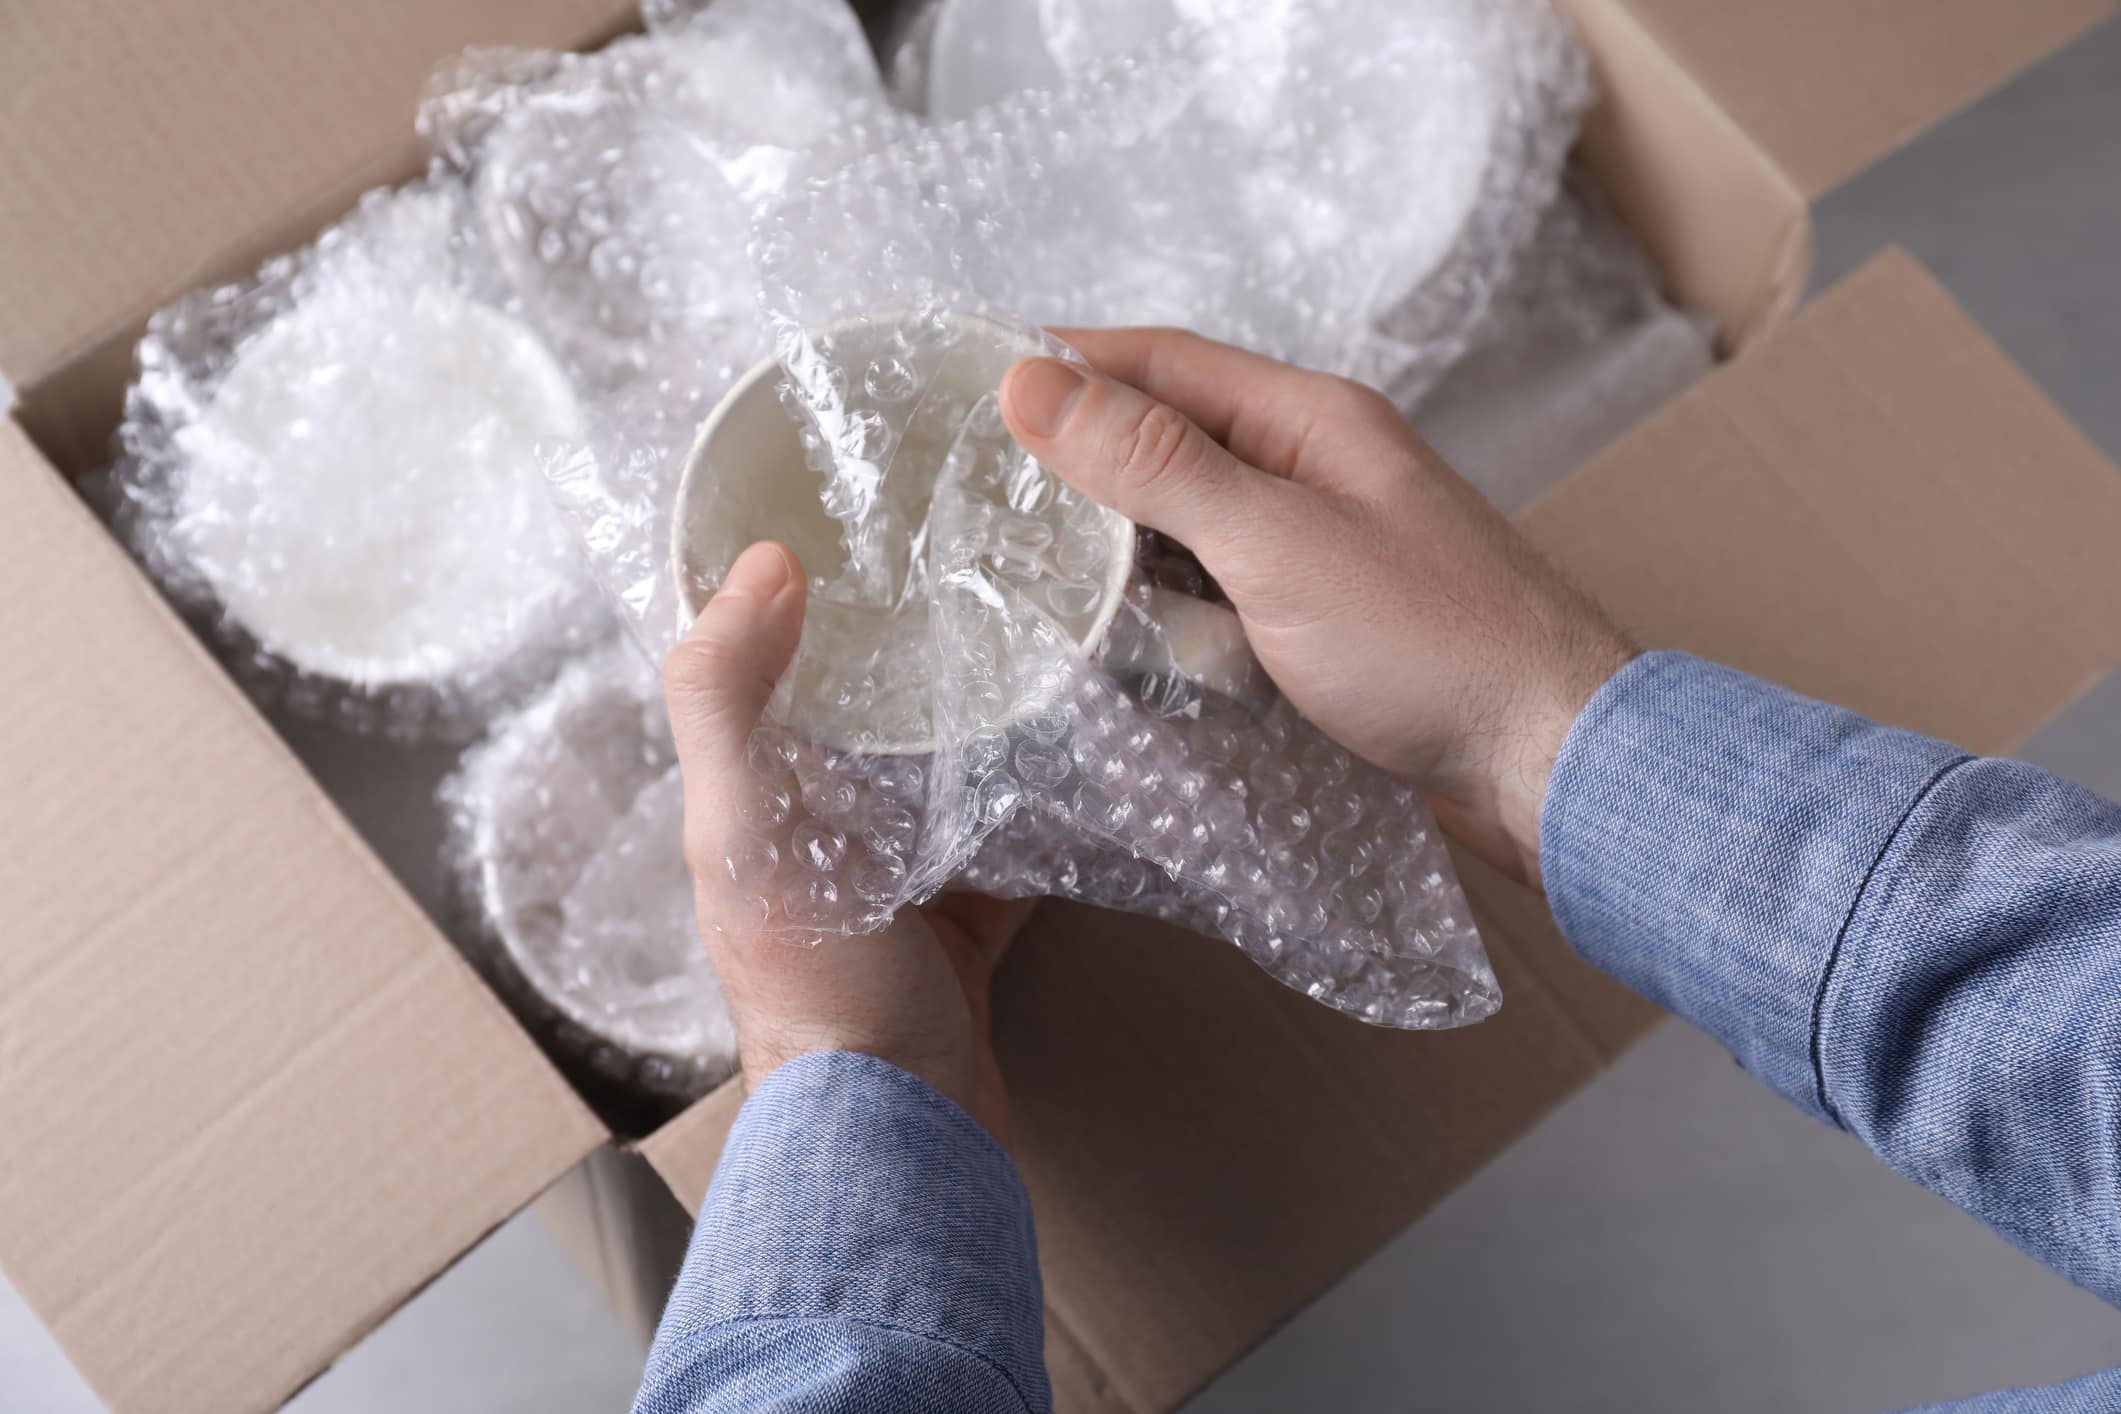
Protect all fragile items with foam sleeves, packing paper or bubble wrap. This will help avoid any scratches, chips, dents, or cracks as your dishes travel to their new destination. If you don’t want to buy packing paper, you can also use potholders, kitchen towels, or old newspapers to cushion and secure those dishes.

4) Label Each Box in Detail After Packing
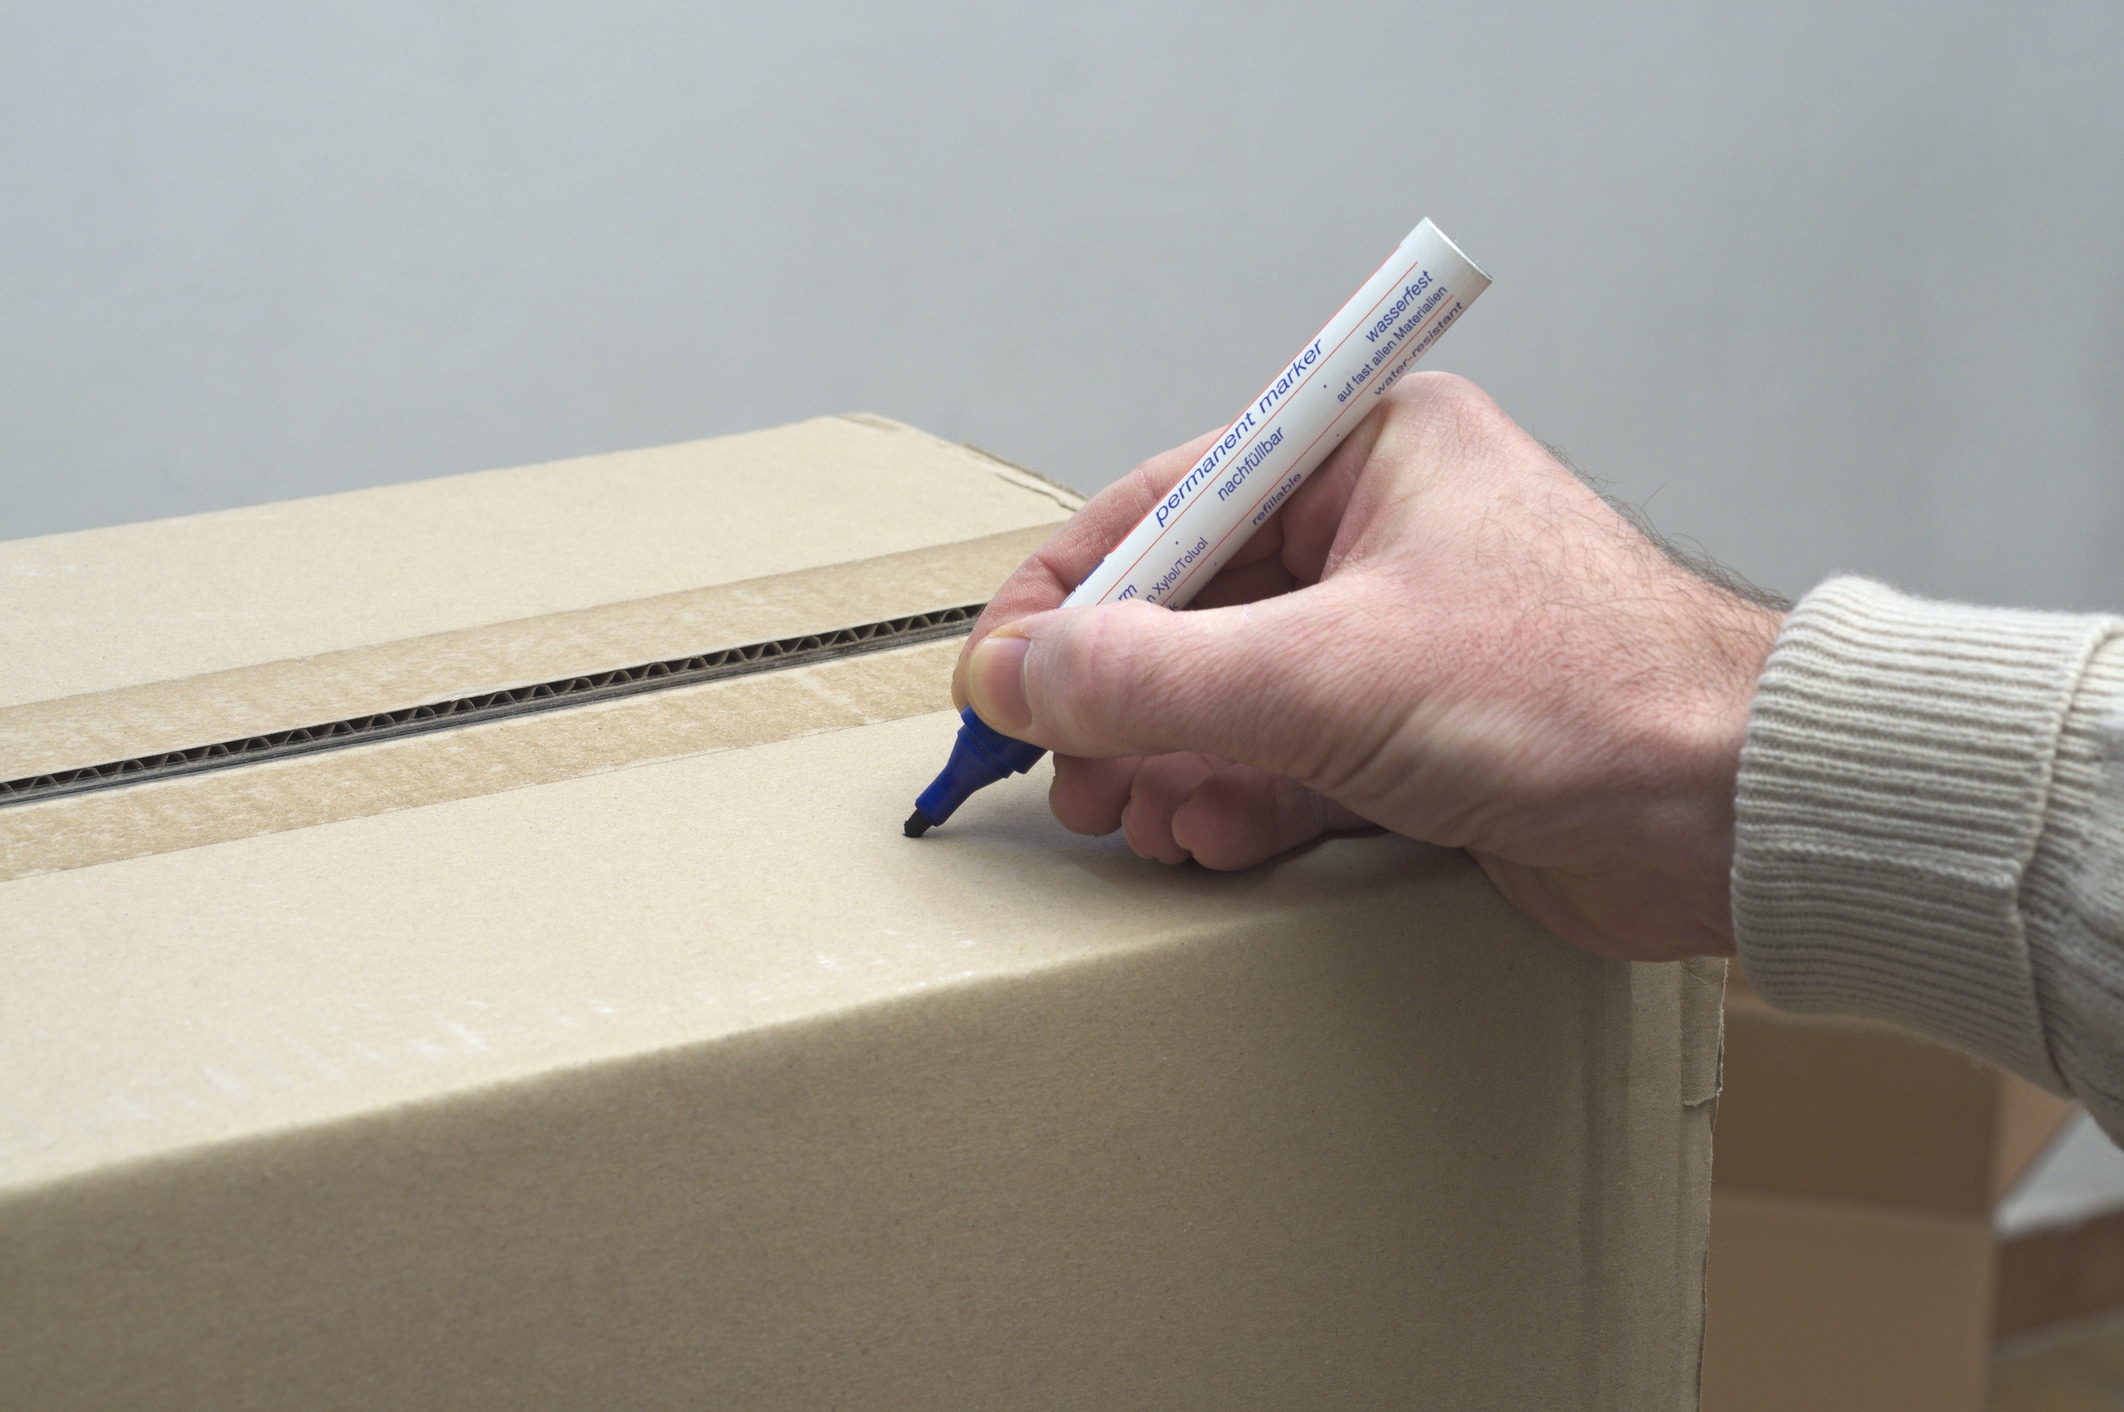
When you finish packing each box, write its contents using permanent marker in a visible area on either the top or side (ex: “Glass Cups and Coffee Mugs”). Also, don’t forget to label the room these items belong to (that would be the kitchen, of course!). This extra step will save so much time while unpacking boxes and settling into your new home, you’ll be so glad you did it.
How to Pack Dishes for Moving — One Item at a Time
Whether it’s fine china for special occasions or ceramic and porcelain dishes for regular use, kitchenware requires a delicate touch at each step in the moving process.
But no need to feel overwhelmed — we’ve got you covered with a complete guide on how to pack dishes for moving. So, now that you have a general idea of what to expect, let’s dive in!
How to Pack Glasses for Moving
- Place the glass on its side at one corner of a sheet of packing paper.
- Roll the paper diagonally around the glass and tuck the excess paper into the rim.
- For stemware (like wine glasses), wrap another sheet of paper around the stem.
- Secure the paper with shipping tape, so it doesn’t come loose in the box.
- If you have cardboard partitions, secure each glass inside its own slot.
- If you’re not using partitions, line the glasses flush and upright next to each other.
- Layer the heavier, more durable glasses on the bottom of your box.
- Stack the more delicate or breakable glasses near the top of your box.
- Fill in any gaps with kitchen towels, potholders, oven mitts, or more paper.
- Label the box “fragile” to ensure careful handling while in transit.
How to Pack Cups for Moving
- Place the cup on its base in the center of a sheet of packing paper.
- Pull each corner of the paper around the cup and tuck the excess paper into the rim.
- For cups with handles (like coffee mugs), twist another sheet of paper over the handle.
- If you have cardboard partitions, secure each cup inside its own slot.
- If you’re not using partitions, line the cups flush and upright next to each other.
- Layer the heavier, more durable cups on the bottom of your box.
- Stack the more delicate or breakable cups near the top of your box.
- Fill in any gaps with kitchen towels, potholders, oven mitts, or more paper.
- Label the box “fragile” to ensure careful handling while in transit.
How to Pack China for Moving
- For a china plate or bowl, place it in the center of a sheet of packing paper.
- Fold each corner of the paper over the dish, then secure it with shipping tape.
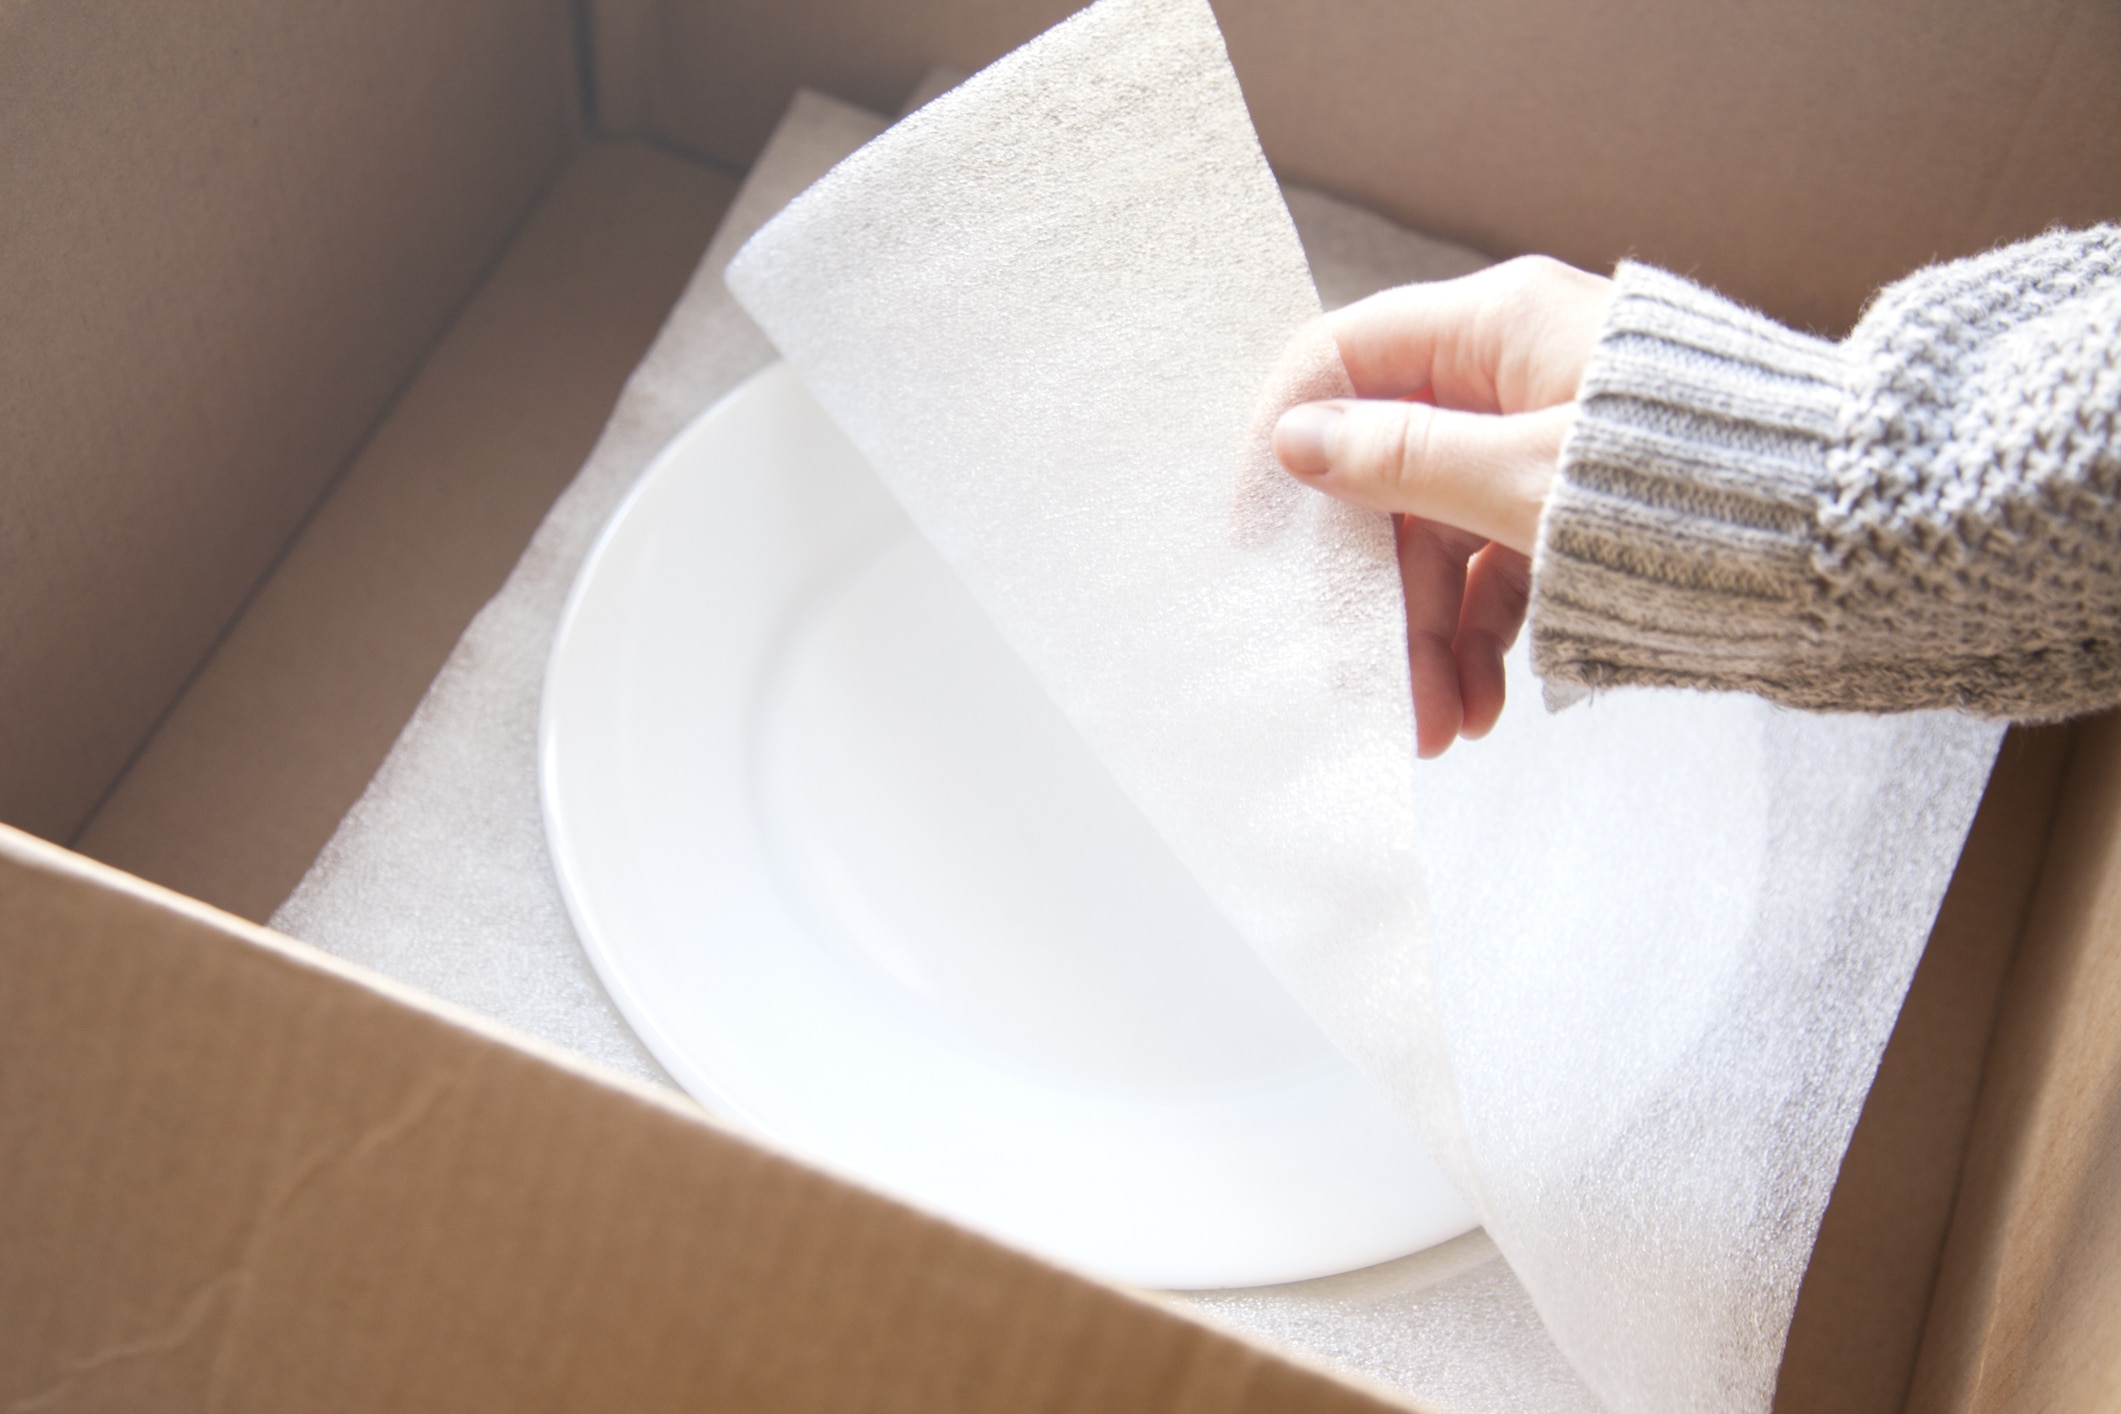
- Cushion plates with a foam sleeve and bowls with a layer of bubble wrap.
- For a china cup or mug, place it in the center of a sheet of packing paper.
- Pull each corner of the paper around the cup and tuck the excess paper into the rim.
- Cushion the cups with a layer of bubble wrap, then secure it with shipping tape.
- Stack the plates vertically (not flat) in a row with more bubble wrap in between.
- Place bowls on their bases and stack them with bubble wrap in between.
- If you have cardboard partitions, secure each cup inside its own slot.
- If you’re not using partitions, line the cups flush and upright next to each other.
- Fill in any gaps with kitchen towels, potholders, oven mitts, or more paper.
- Label the box “fragile” to ensure careful handling while in transit.
For more details on how to pack fine china for moving, check out this tutorial:
How to Pack Plates for Moving
- Place the plate in the center of a sheet of packing paper.
- Fold each corner of the paper over the dish, then secure it with shipping tape.
- Cushion the plate with a foam sleeve for extra protection.
- Stack plates vertically in a row with more bubble wrap in between.
- If you need to stack another row, separate the two layers with bubble wrap.
- Make sure the plates are flush next to each other but not packed too tight.
- Fill in any gaps with kitchen towels, potholders, oven mitts, or more paper.
- Label the box “fragile” to ensure careful handling while in transit.
How to Pack Bowls for Moving
- Place the bowl on its base in the center of a sheet of packing paper
- Pull each corner of the paper around the bowl and tuck excess paper into the rim.
- Cushion the bowl with bubble wrap for extra protection, then secure it with shipping tape.
- Place the bowls upright on their bases along the bottom of the box.
- If you need to stack another row, separate the two layers with bubble wrap.
- Make sure the bowls are flush next to (or on top of) each other but not packed too tight.
- Fill in any gaps with kitchen towels, potholders, oven mitts, or more paper.
- Label the box “fragile” to ensure careful handling while in transit.
How to Pack Knives for Moving
- Sort the knives by size and type (e.g., dinner, paring, cleaver, serrated, etc.).
- Ensure all blades point in the same direction and use blade covers if you have them.
- Bundle each group of knives with a rubber band, then roll them in bubble wrap.
- Secure the bubble wrap with shipping tape, so it doesn’t come loose.
- Place each knife bundle in the box with all blades facing away from the opening.
- Fill in any gaps with kitchen towels, potholders, oven mitts, or more paper.
- If possible, pack the knives in a separate sturdy cardboard box within the moving box.
- Label the box “sharp objects” to ensure careful handling while in transit.

FAQS: How to Pack Dishes
Hopefully, this guide has shown you that packing dishes isn’t as stressful as you might think. With these useful steps and attention to detail, you can maximize efficiency and prevent costly damage. But before you hit the open road, here are just a couple more considerations on how to pack dishes for moving.
Q: What is the most efficient way to pack dishes for moving?
A: The most efficient method of packing dishes is to wrap each item separately, cover the entire surface (including rims, stems, or handles) to minimize breakage, and place it securely in a small, compact box. Group similar items together in the same box and make sure there’s no room for your dishes to shift or jostle around while in transit.
Q: Should you pack dishes vertically or horizontally?
A: Pack your dishes in vertical rows, like records, rather than laying them flat on top of each other horizontally. Vertical rows decrease the pressure on each dish, which reduces the risk of chips or cracks while in transit.
Bowls are the one exception to this rule — you can stack these items because they’re durable enough to withstand that force. But more fragile items like plates can’t hold up to the weight of other dishes pressing down on them.
Pack Your Dishes Like a Pro with Help from Colonial
Now that you have the full inside scoop on how to pack dishes for moving, it might seem like a budget-friendly option to tackle this project yourself. But time is money, and packing is the most tedious part of any move.
The professionals at Colonial Van Lines would be happy to take the packing off your hands so you have more time to plan your long-distance move while ensuring your belongings arrive at their final destination all in one piece. In addition to packing, we also take care of all the other details like loading, driving, and unloading — and even disassembling and reassembling your furniture. Contact us for a free quote today!

